> For the complete documentation index, see [llms.txt](https://docs.entrypointai.com/llms.txt). Markdown versions of documentation pages are available by appending `.md` to page URLs; this page is available as [Markdown](https://docs.entrypointai.com/guides/evaluate-a-prompt/turn-a-prompt-into-a-template.md).
# Turn a Prompt into a Template
Here is a sample prompt that we will turn into a [template](/key-concepts/templates.md) for [evaluation](/key-concepts/evaluation.md):
{% code overflow="wrap" %}
```
You are a professional email marketer. Review the following email description and write a creative email subject line idea for it that is likely to grab attention. Do not return anything except the subject line.
```
{% endcode %}
### Create a New Project
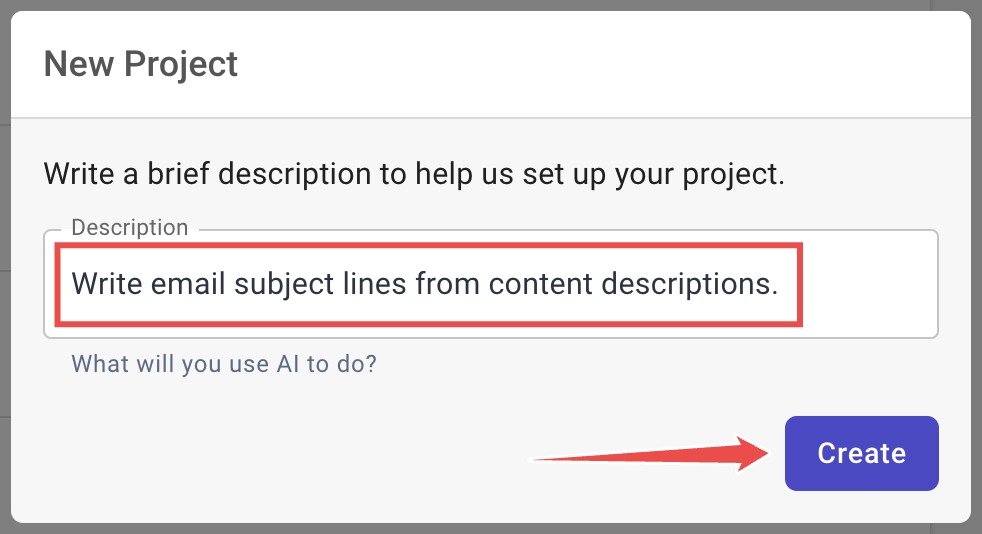
Go to the home screen and press + to create a new Project.
For the Project description, you can put the following:
> Write email subject lines from email descriptions.
Create a new project
Press "Create" and you will land in a new Project called "Subject Line Writer" or similar.
### Create a Chat Template
Navigate to templates in the sidebar, then press + to create a new template.
Leave the type as `Chat` by default.
In the `system` prompt box, enter our instructions.
{% code overflow="wrap" %}
```
You are a professional email marketer. Review the following article and write a creative email subject line idea for it that is likely to grab attention. Do not return anything except the subject line.
```
{% endcode %}
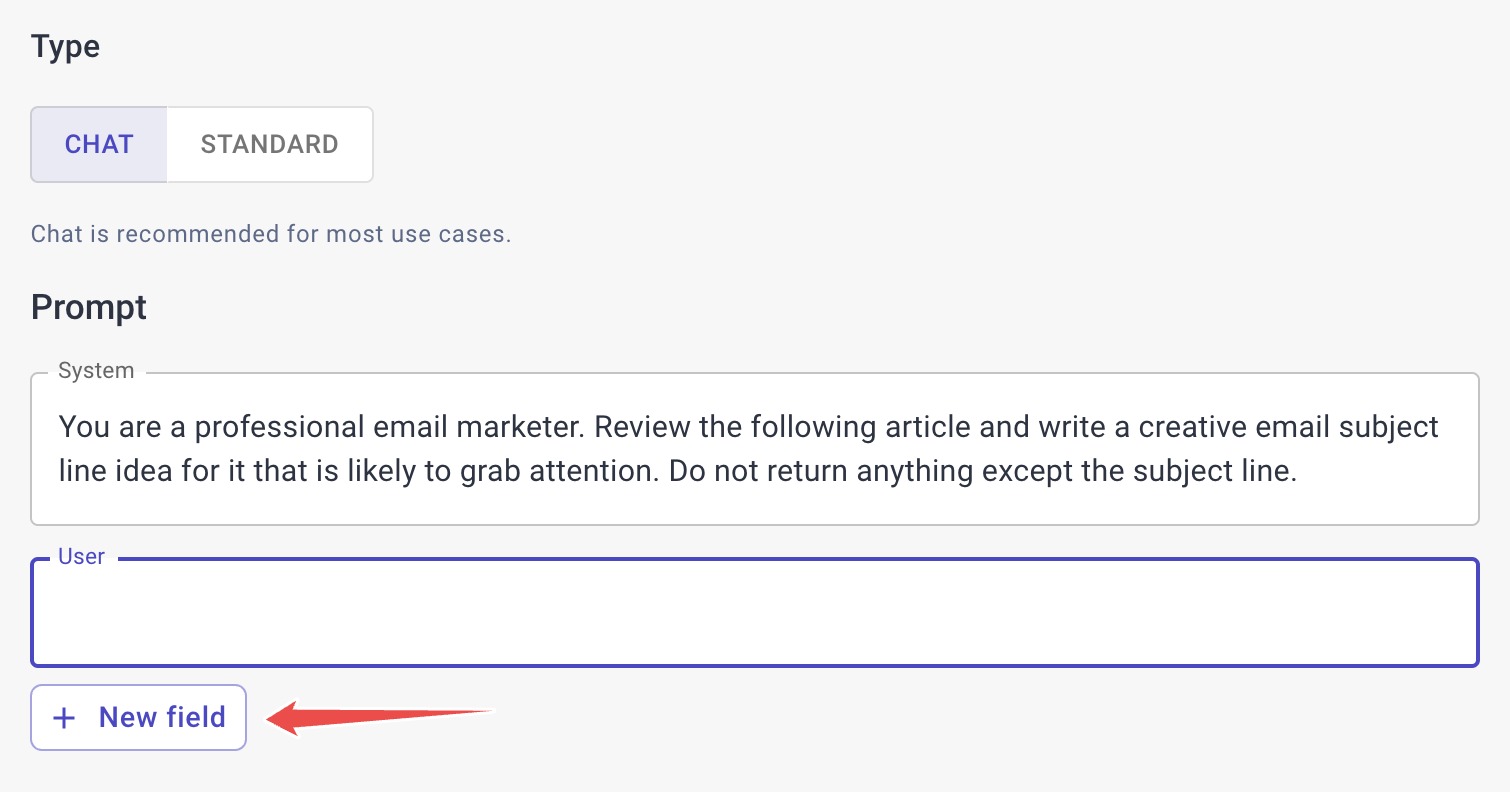
With the `user` prompt text box selected, press the "New field" button.
Create a new field while editing the template
For the name, enter "Content Description". The reference will be populated automatically and the helper text can be left blank.
All you need to do is name the field
Press "Save & close".
Now press the button to insert the new Content Description field into your `user` prompt.
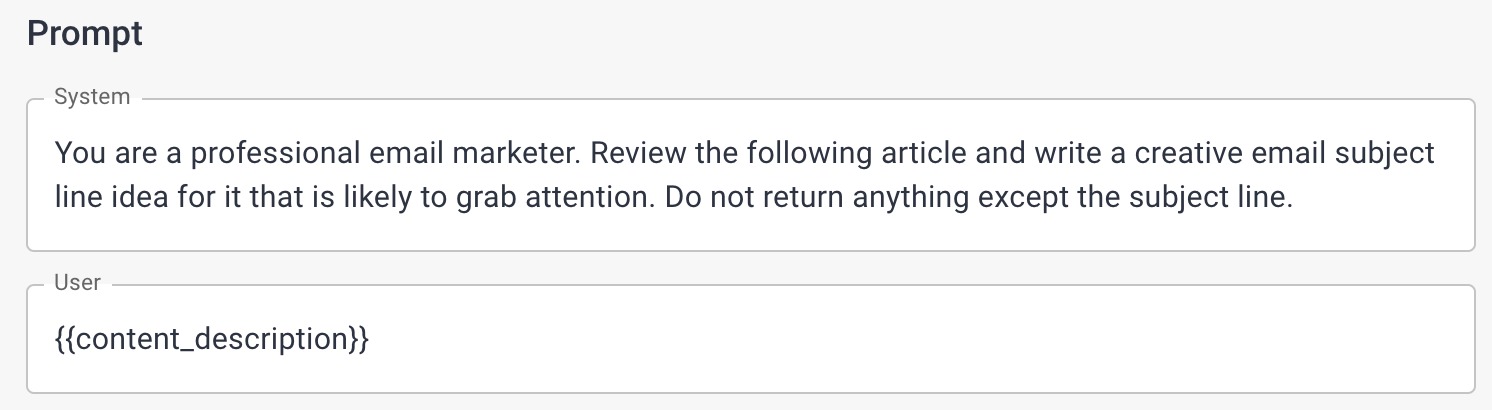
The entire prompt section should look like this:
Repeat the same process to create and insert a field into the `assistant` output box called "Subject Line."
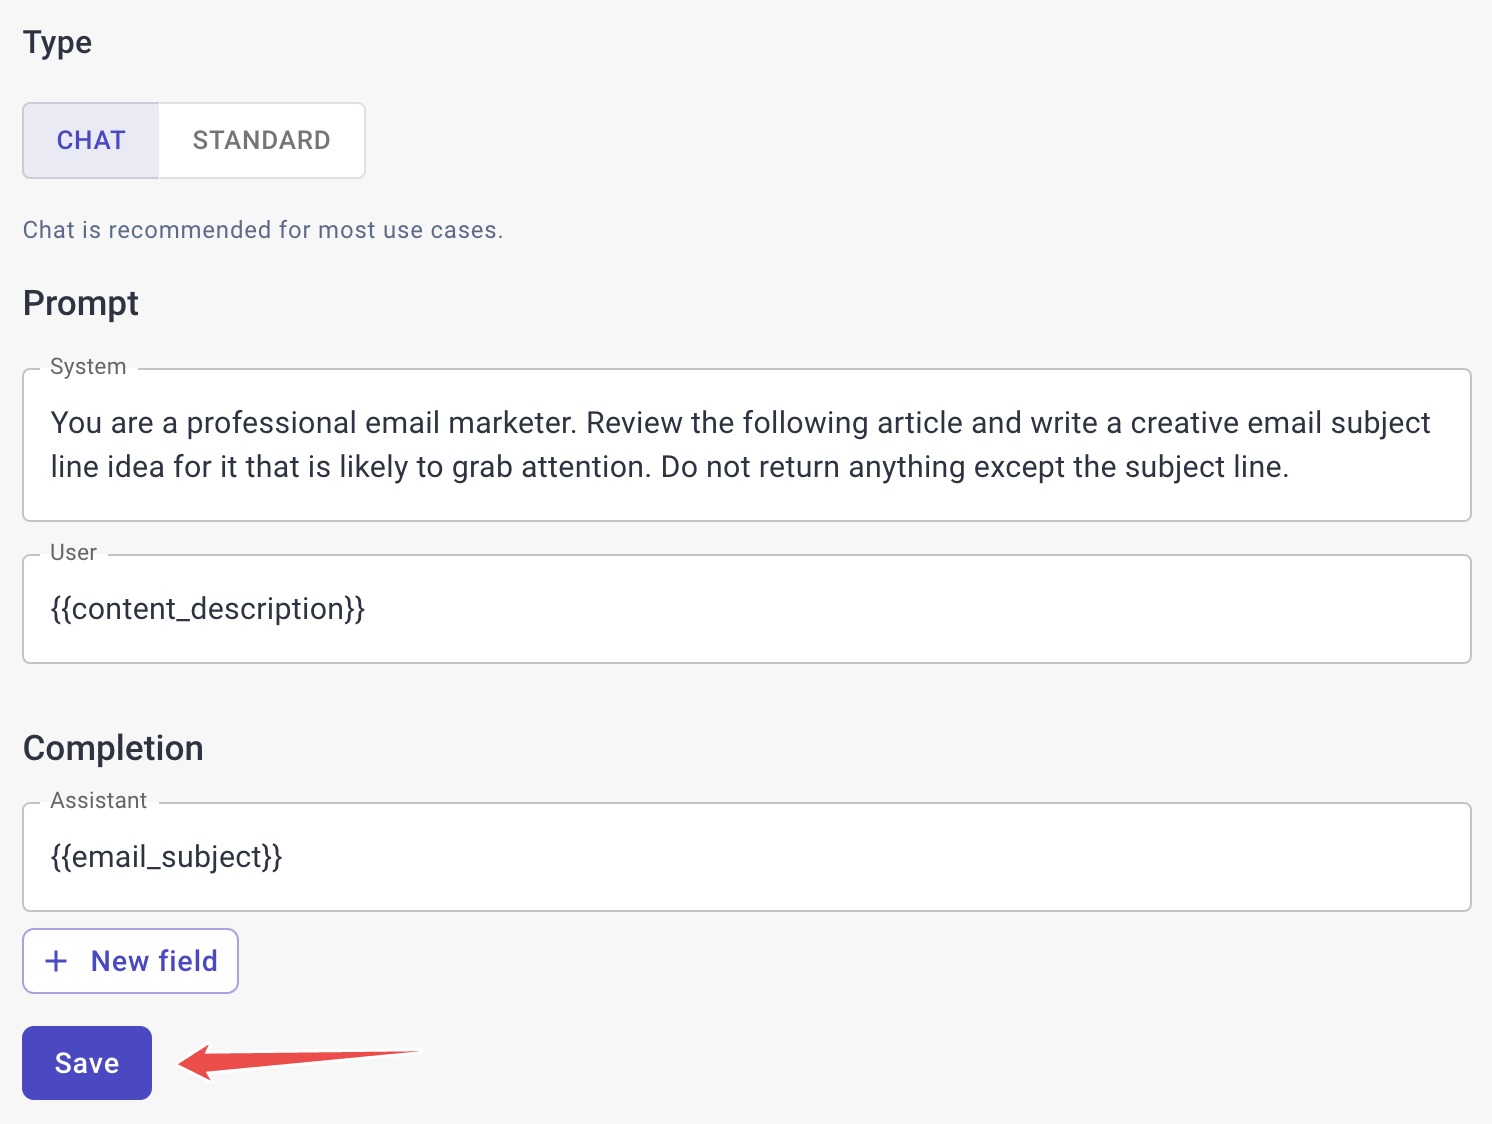
This should be what you have at the end:
Save the new template
Press "Save."
We now have a Template based on our prompt that can handle different pairs of data for the `article` and the `subject_line` that we need the model to generate.

.jpeg?alt=media&token=41813903-a724-4a6b-a129-c64bce5cac63)